Write Blogs on blogs.teachx.net
In this guide, you'll learn how to request access to become a blog contributor on TeachX. Additionally, you will discover how to write effective blogs optimized for SEO to achieve high rankings on Google search. The guide will also cover creating engaging banners and SEO-friendly images, as well as crafting social media content to promote your blog effectively.

Prerequisites
Before you request access, ensure you have the following ready:
- Name
Active TeachX Account- Type
- requirement
- Description
- An active account on the TeachX platform.
- Name
Email Address- Type
- requirement
- Description
- A valid email address for requesting contributor access.
- Name
Basic Blogging Knowledge- Type
- requirement
- Description
- Familiarity with writing blogs and basic SEO principles.
Ensure your TeachX profile is set up completely to facilitate content promotion and engagement.
Step 1: Request Contributor Access via Email
To request access to write blogs on the TeachX platform:
- Compose an email with the subject "Requesting Access to Write Blogs".
- Send the email to marketing@teachx.net from the email address you wish to have access granted to.
- Wait for confirmation: You will receive a response at your email once your access is approved.

marketing@teachx.net
Step 3: Activate Your Contributor Account
Once your request for contributor access is approved, you will receive an email invitation. Here’s how to activate your account:
- Open the email from TeachX Blog (sender: teachx@ghost.io).
- Click the "Click here to activate your account" button in the email. This will redirect you to the account creation page.
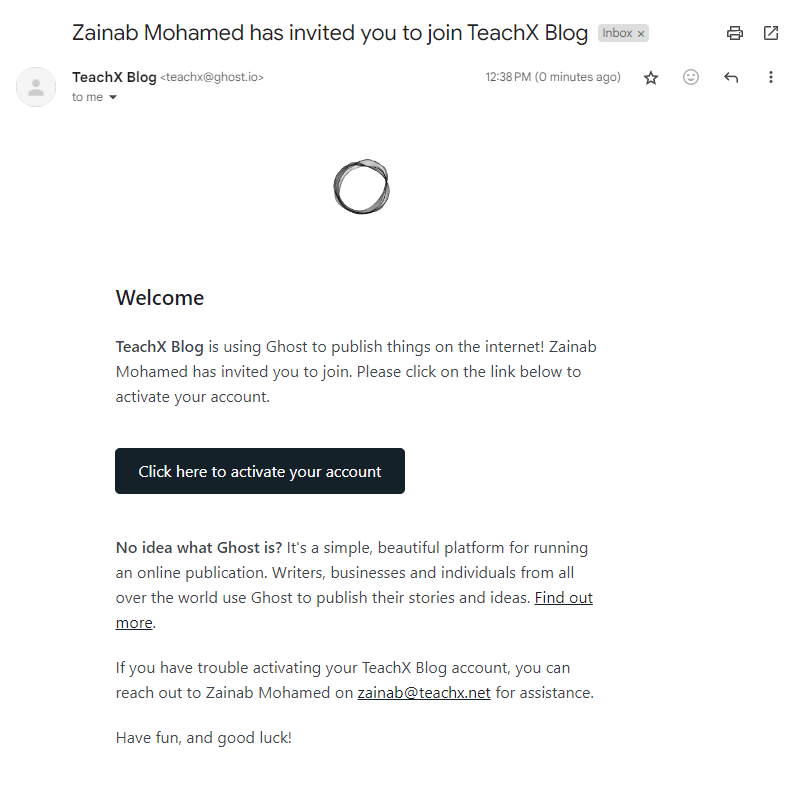
Once you've completed these steps, you'll be redirected to the TeachX Blog platform to create your account.
Step 4: Create Your Account
Once redirected, you’ll be prompted to create your account.
- Enter your Full Name: Use your full name as you would like it to appear on your blog posts.
- Enter your Email Address: Make sure it matches the email you requested access with.
- Create a Password: Choose a secure password with at least 10 characters.
- Click the "Create Account" button.
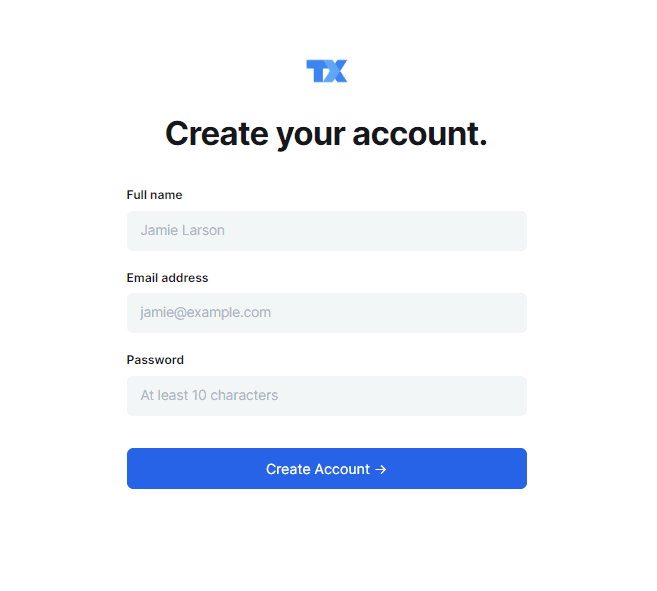
Once you've completed these steps, you'll have full access to the TeachX Blog platform.
Step 5: Accessing and Using Your Account Dashboard
After creating your account, you'll be taken to your account dashboard, where you can start writing and managing your blogs. To log in to the dashboard, follow these steps:
-
Navigate to either:
- blog.teachx.net/ghost
- teachx.ghost.io
Ensure you bookmark this page for easy access in the future.
-
Log in using your TeachX credentials.
-
Familiarize yourself with the Blog Platform interface to start writing your blog.
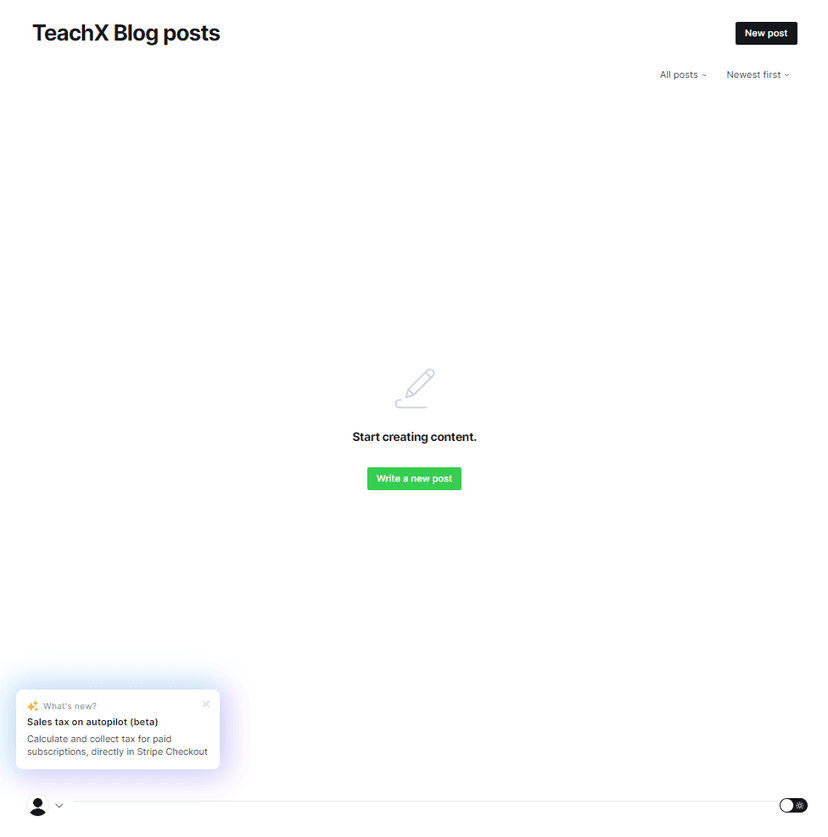
Dashboard Overview
- Click "Write a new post" to begin creating your blog.
- You can view all your posts or drafts under the All posts section.
- The Settings icon at the bottom left allows you to customize your account preferences.
Step 6: Writing Your Blog Post
Formatting Your Blog Post
When writing your blog, follow this structure for best results:
- Title: A clear, engaging title that grabs attention.
- Content: Keep it concise, informative, and include multimedia (images, videos, or infographics).
- SEO Information: Fill in the SEO title, meta description, and URL slug for better search visibility.
- Tags: Add relevant tags to categorize your blog post.
Use keywords related to your course or educational expertise to boost SEO performance and increase searchability.

Structure of an Effective Blog
- Headings & Subheadings: Use clear sections to make content digestible.
- Bullet Points & Short Paragraphs: Improve readability with easy-to-skim text.
- Multimedia: Add videos, GIFs, or images to make the post more engaging.
"How to Market Your Course with TeachX"
Step 7: Publishing Your First Blog Post
Once your blog is complete:
- Click the "Submit for Review" button on the platform.
- The TeachX editorial team will review your post for quality and adherence to guidelines.
Editorial Review Process
- If revisions are needed, you'll receive an email outlining necessary changes.
- Upon approval, your blog post will be published on the TeachX blog.

Step 8: Promoting Your Blog Post
Once your post is published:
- Share the blog link across your social media platforms.
- Use relevant hashtags and catchy captions to attract readers and engagement.

"🚀 Check out my latest blog on TeachX! Learn how to launch your online course with ease. [Link in bio] #TeachX #CourseMarketing #OnlineLearning"
Step 9: Interact with Readers
Once your post is live, engage with readers by responding to comments and questions. Interacting with your audience builds a stronger community and can lead to more student sign-ups.

Ready to Take the Next Step?
Whether you're ready to post content or need further assistance, we’re here to help. Choose your path below: